Arise like a Phoenix from the fire!

I’m heading to Chicago this weekend to attend my first convention on miniatures. These are the ones you traditionally use in dollhouses and room-boxes. There are many other miniatures out there such as for train enthusiast and even Barbie but I primarily will be working in 1:12 scale (1″=1′). So I thought what better way to revive this blog with new life in the form of my remodeling a couple dollhouses and other dollhouse fun. I will also update you on what exactly I have been doing since the last post before this one. Hope you stick with me and see where this goes.

Michelle

p.s. have to figure out how to post pictures properly again, bare with me lol

End of September

Well it is now the end of September and I haven’t posted anything in a while oops lol. Month sure went by fast! I’ve been doing a bit of this and that but not really taking pictures of it. I have started working on making some different journal covers similar to Midori covers. I got the idea from a couple of different places and then added in a few things of my own. I’ll share that when I get to the picture taking stage. All I have done so far is cut up the faux leather and heat n bond. Along with that I made one for myself from real leather.

IMG_6160

I got both pieces of Leather from Michael’s. They had one that was just the size I wanted so I didn’t have to do much work to it. I added the holes for the elastic string to fit through and I sewed the decorative leather strip to the cover so I would know which side was the front. It also hid the holes caused by the staples used to attach it to its bar-code hang tag. I have three signatures inside. One is a normal notebook style, one is graph paper I cut to fit and the last one is plain white paper. I have been getting into the habit of chucking it into my purse when I go out so that I have it handy for notes or doodles when the time arises. Oh and I bought a bigger purse lol. My old one was feeling a little cramped with the “normal” things I put in it and I could not fit any kind of planner or journal into it so I had to upgrade. Found it at Marshall’s for a great bargain.

Tuesday Morning is still my favorite place to visit with all its fun crafting goodness. My most recent trip I scored some 12 x 12 sheets of washi tape. These are great because you can cut them up into any shape you want. I’ve been using a couple of my punches to have a selection to grab from when the need arises.

IMG_6161

I did one 12 inch strip for each shape and this is what I ended up with. I have one more pattern to do. I still have a large portion of the original paper left over. I did a 1″ square, two styles of heart, and a circle. I have one more punch I might try out, it is a flower.

I have been doing a bunch of Geocaching since the weather has cooled down some. It is a fun activity. Go to http://www.geocaching.com to check it out. My husband and I have found 37 this month. That is pretty good for us.

Off I go to work on some more washi punching. Hope you are having a great week!

Painted Clothes Pins and Recycled Paper Books

Wow it has been a couple of weeks since I last posted. Amazing how time flies when you least expect it. Today I am sharing a couple of things I have worked on and a shout-out to myself 😉

First up the recycled paper books.
When we moved here in August we had tons of paper from all the breakables and the huge multi-layered sheets they used to wrap up plastic totes. While in the process of clearing out some of those paper sheets in the attic a few months ago, I noticed that one of the layers had some cool texture. So I peeled it out and set it aside. One sheet of this paper was big enough to cover the top of my queen sized bed. A couple of weeks ago I finally used that big paper to make pages for my books. Here you can see the two types of paper I found and saved. Such fun texture!

IMG_5640

I took cardboard food boxes I had saved and measured them to see what size pages would fit in them. Then I proceeded to cut/tear from the large sheets what I needed for each book. After that I set up signatures and test fit them to the covers as seen in this next picture. I was able to make three signatures for each book of 8-10 pages a piece. One book has four signatures. In addition they provide space to add in chunky items or extra signatures.

IMG_5642

I learned a tip somewhere (cannot remember who, might have been Kathy Orta) of using tyvek envelopes as reinforcement for binding signatures. It stops your thread from ripping through the cardboard. This next picture shows the strip of tyvek attached to the cover and lines drawn for where the signatures will be placed. I have pierced holes using an awl type tool and sewn in the first signature using waxed thread. The tyvek was attached using double sided tape.

IMG_5644

Here are all of the books showing the binding and thread. This will be covered up as I decided what to decorate the covers with.

IMG_5651

All the rough bits of edge look awesome. It was fun to use products that would have gone in the recycle bin. I now have six new books I can do art in or add things into like a Smash book. I also have a video on my YouTube channel where I talk about them. https://www.youtube.com/watch?v=hT-CxESXo8E

IMG_5652

Next up is my painted clothes pegs. While shopping here and there I kept noticing decorated clothes pins. Some were painted, others had glitter or words on them. My frugal mind said “don’t buy those, you can make them yourself for cheaper”. So I did.

Here they are completed. I painted them then added rub-ons for the numbers. I will be posting a video on my YouTube channel of my process for these once I get it edited. I am going to make more in assorted sizes.

IMG_5732

My shout-out is to please visit my YouTube Channel and subscribe. I’m at 29 subscribers so far and I would like to do a give-away when I reach 100.

Hope you have had a great couple of weeks doing crafty things, I know I have.

Other Art Journal Pages

In between pages for my weekly class I have done a few other pages in my two sizes of journal. I might add a bit more to a couple of them but here they are so far.

This one I did as I was working on week 2. I didn’t want to waste any paint so I added it to this page that I had already started adding paint to on a previous occasion. I like how it is coming along.

IMG_4730

Here I felt like playing with some book pages so I applied them to the journal then added a few thing over them. I think I will add more to this page once inspiration hits me. Good start so far.

IMG_4738

Here is a close-up of the flowers I made using modeling paste and a stencil. They are colored with neocolor II crayons and then some glossy accent to cover it. A little metal sticker embellishment to the centers.

IMG_4732

Here is a picture showing the ribbon I added. I had purchased this as an option for use on week 3 but ended up not using since I found something I liked better. I thought it looked fun layered with this paper in my stash. I also added some of the epoxy stickers with nice words on them

IMG_4733

This one was me playing with stencils and stamps using paint and distress ink. I also used the edge of an old gift card to make the random lines. I used some fun gift tissue paper I found at TJ Maxx as the base layer. It had Paris inspired items and french script on it. Time word is stickers from my stash.

IMG_4734

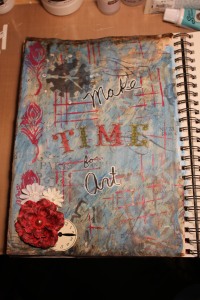
The white flowers are from Prima and the other I am not sure, possibly something I grabbed at Michaels. The clock is a stamp I have and the clock hand came from Oriental Trading.

IMG_4735

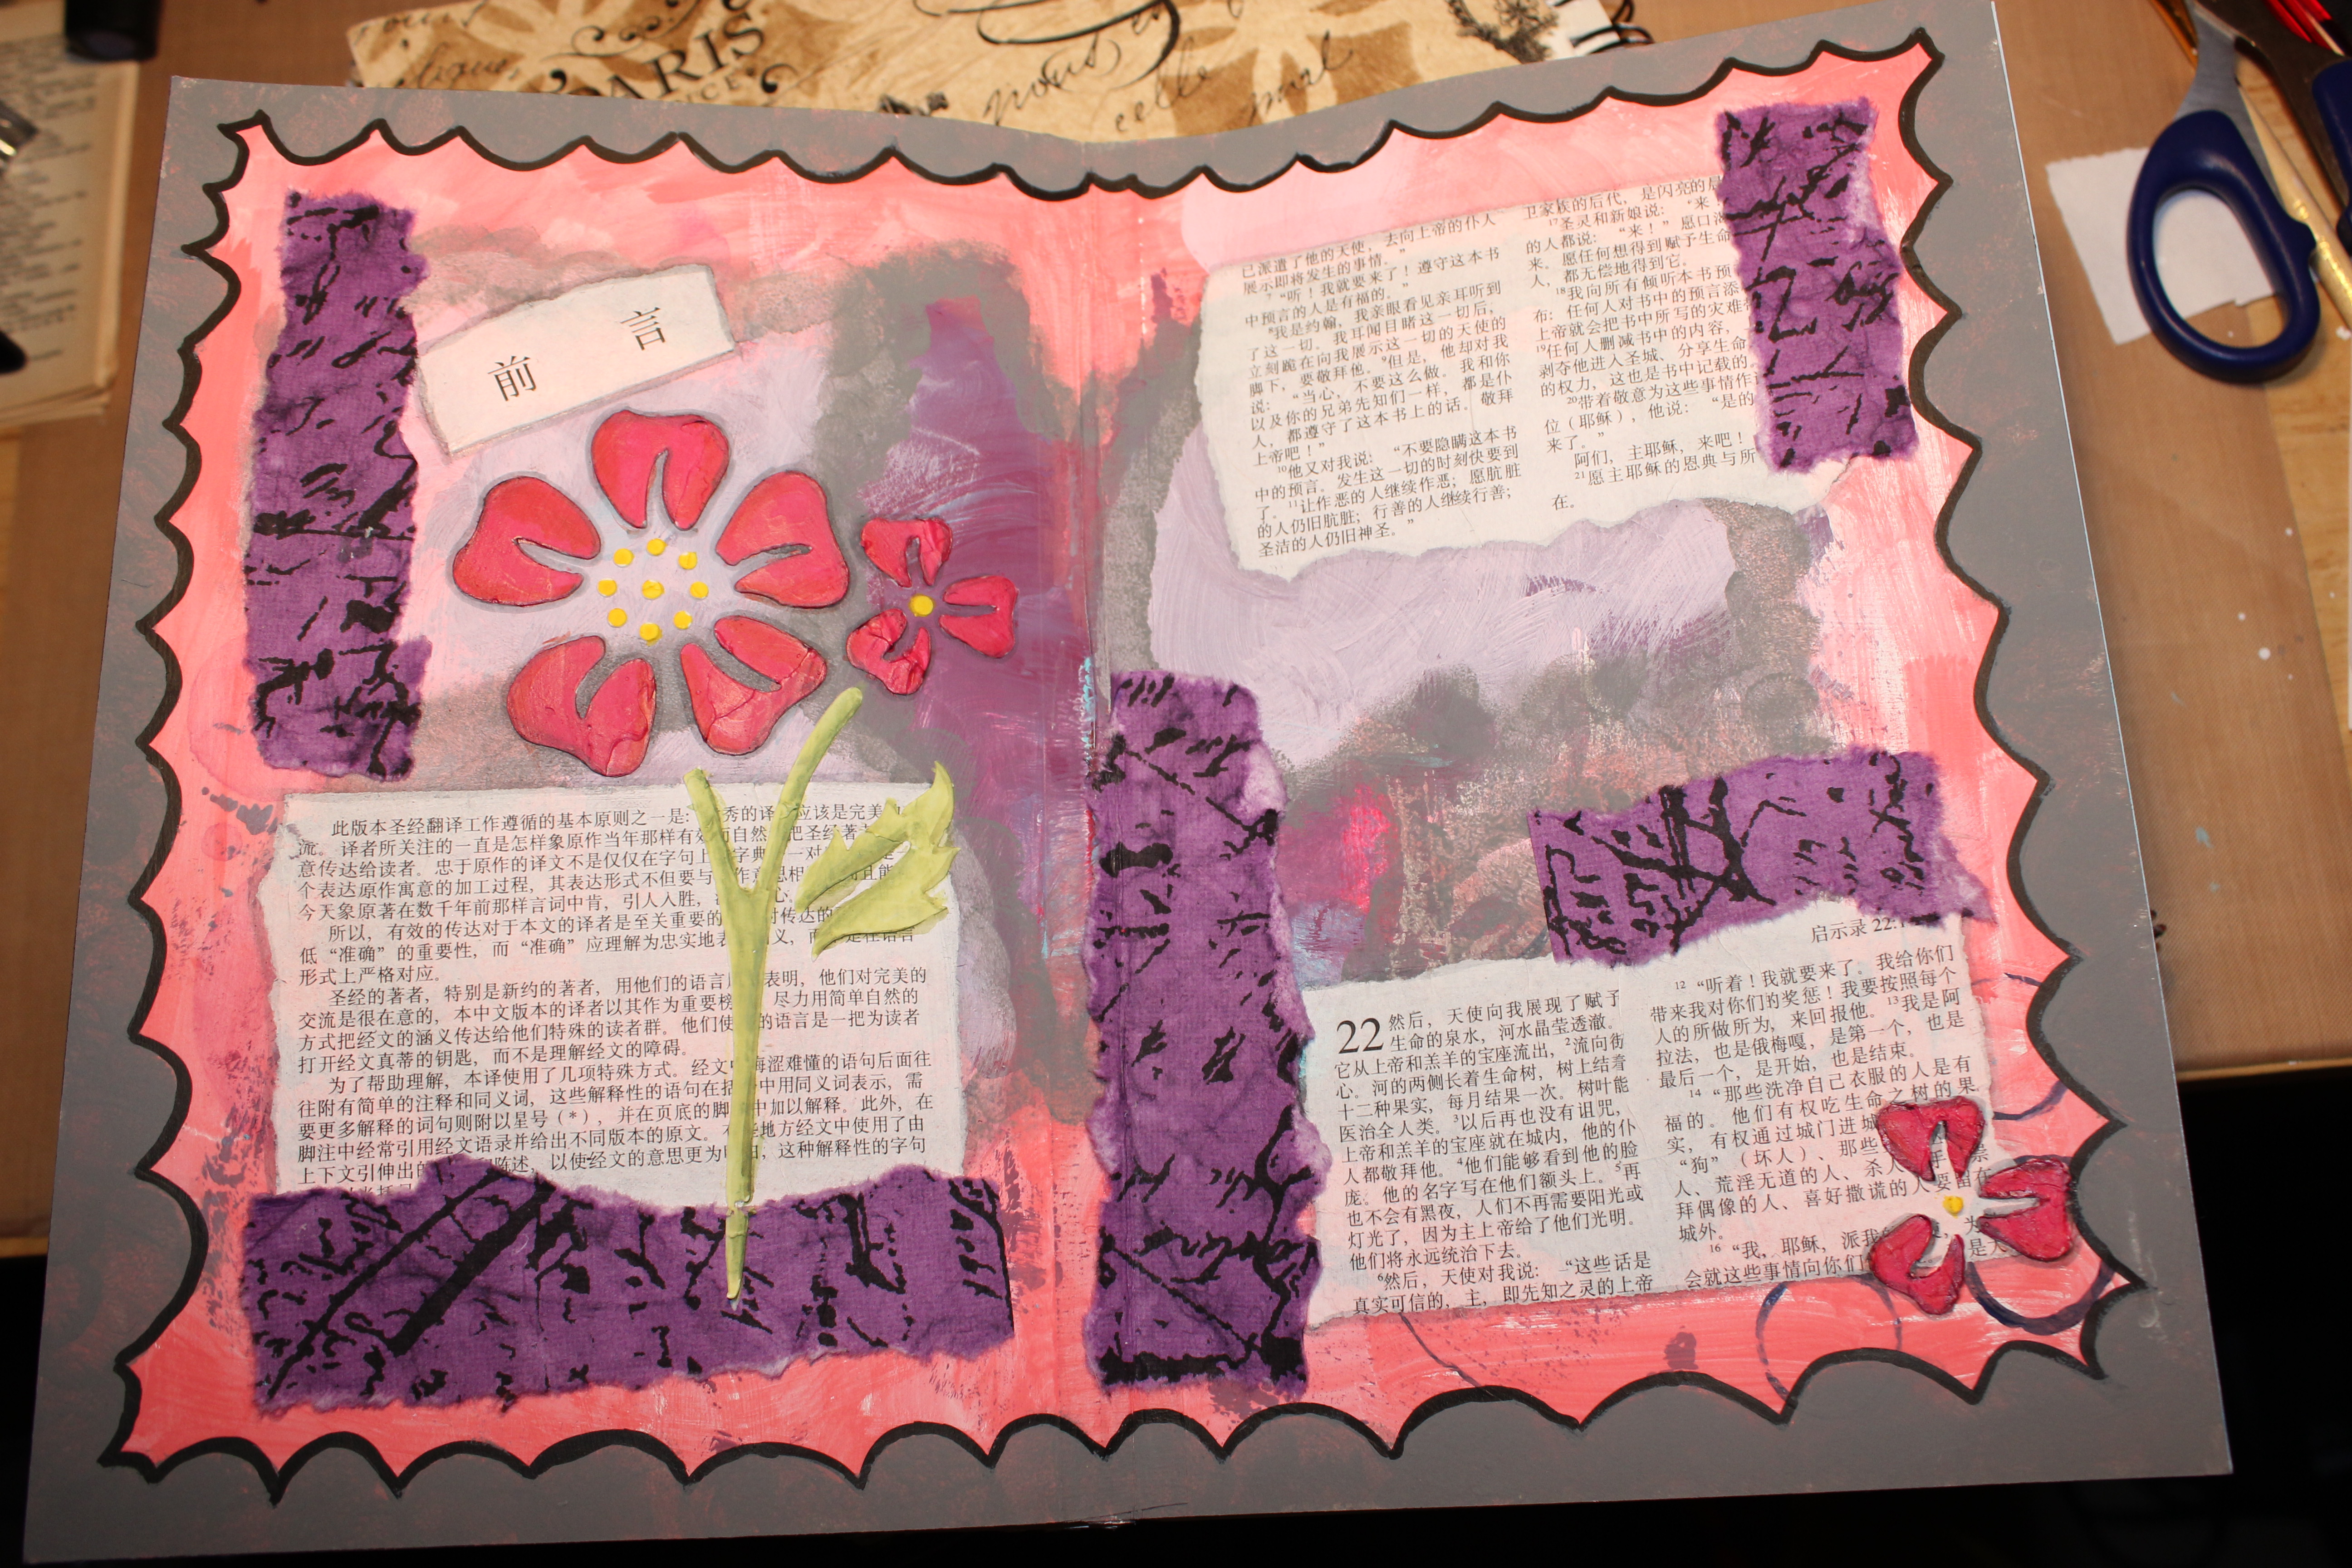
I went back to that book store where I got the dictionaries from to look for anything else that seemed fun. I ran across this book written in Korean/Chinese/Japanese/Mandarin? I have no clue which one but I love the characters they use for the text and it has nice thin paper almost like tissue. I have a strange suspicion that this may be a Bible but also not sure because it doesn’t seem to have enough chapters. It just look really fabulous in the background. I’m going to do more to this page but this is where it is right now. The flowers are modeling paste.

IMG_4703

This page was random playing with supplies and went in this direction so I added the nice quote to finish it off. Bit of finger painting here, and the repeating circles are made from applying paint to bubble wrap then smooshing it to the paper. A fun technique from an often overlooked item.

IMG_4701

This I would call a page I’m not overly thrilled about where it is but oh well lol. Did most of it on New Years Eve as I was sitting around waiting for time to count down. The streamer thingies I added came from party poppers we did with the kids the next day.

IMG_4702

Another little project I have done is make some art journals using card-stock and canvas I had in my fabric stash. I cut it down into four pieces which worked out to be big enough to use as a cover that folds over itself to accommodate an expanding journal. I added eyelets for the ribbon to go through that holds the two signatures inside.

IMG_4736

Here you can see one of them open to the center-most part where I have used some masking tape in the crack for the two signatures. You can also see how much extra canvas there is out to the right. This will be the flap that goes over the front cover.

IMG_4737

I plan to paint and decorate each cover and maybe add some charms and beads to the ribbons. I’ll show those later as I complete them.

So that is what I have been up to, hope you made it to the end of the post and I wish you an excellent week of creativity!

Lady Blue

DIY Keyboard Upgrade

This is so cute. Might try this on one of my computers after I move.

Lady Blue

Make Something Mondays

I found a new, and wonderful blog today! I get excited when I find new blogs with good content. It makes me happy. The blog is called Gurlinteruppted. It says it is a fashion and beauty blog but I found more “pretty” things on it.

Anyway, the specific blog post that caught my eye was Does Your Keyboard Need A Makeover? She walks you through a step-by-step tutorial on how to use washi tape and scissors to upgrade your computer keyboard. What a fun idea!

Source: designaglow.com

View original post